
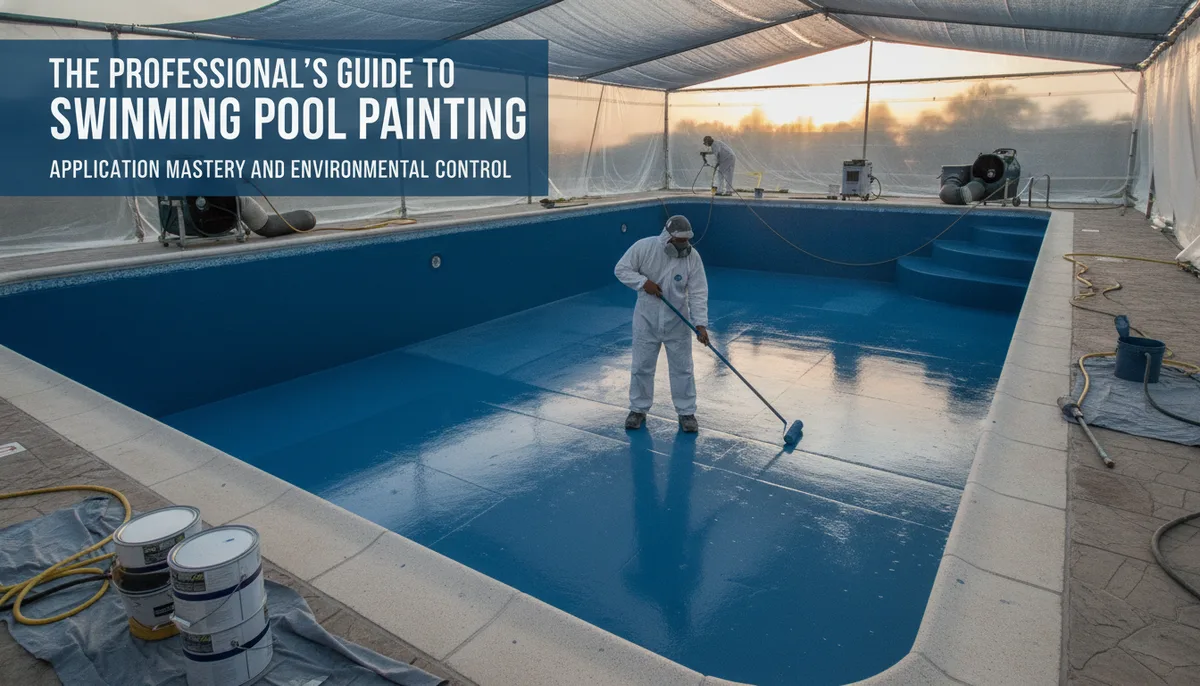
The Professional’s Guide to Swimming Pool Painting: Application Mastery and Environmental Control
Painting a swimming pool is one of the most cost-effective ways to revitalize an aging facility. Whether you are managing a high-traffic commercial aquatic center or maintaining a backyard oasis, a fresh coat of specialized pool paint provides a dual benefit: it protects the underlying structure (be it concrete, plaster, or fiberglass) and provides a high-end aesthetic finish.
However, pool painting is a precision task. Unlike painting an interior bedroom wall, a pool surface is a harsh environment subject to constant submersion, chemical treated water, and UV radiation. To achieve a professional-grade result that lasts for years rather than months, you must master the science of application, environmental timing, and curing.
The Science of Adhesion: Temperature and Climate Control
The success of a pool coating is dictated by the environment long before the first brushstroke is made. Pool paints are sophisticated chemical formulas designed to bond at a molecular level with the substrate. This bonding process is highly sensitive to temperature.
The 50-85 Degree Rule
For the paint to cure and adhere correctly, professional standards dictate a temperature window between 50°F and 85°F.
- Below 50°F: When temperatures drop, the paint formula becomes more viscous (thickened). This makes it nearly impossible to achieve an even, thin coat. Furthermore, if the temperature drops below 50°F overnight, the chemical reaction required for curing may stall, leading to a "soft" finish that will eventually peel or wash away. Water-based paints are particularly vulnerable here, as freezing temperatures can permanently alter the formula’s properties.
- Above 85°F: High heat is equally dangerous. If the surface is too hot, the paint can blister almost immediately upon application. The heat causes the top layer to "skin over" before the solvents underneath have a chance to evaporate, trapping gases that create unsightly and weak bubbles.
Before you begin, it is wise to invest in a high-quality surface thermometer to ensure the pool shell itself—not just the air—is within the safe zone.
Sunlight and Solvent Evaporation
A common mistake made by DIYers and hurried crews is painting in direct, midday sunlight. While it might seem like the sun would help the paint dry faster, "faster" is not better in the world of pool coatings.
Pool paint relies on the controlled evaporation of solvents to create a durable film. Direct sunlight accelerates this process unnaturally. When solvents evaporate too quickly, the paint fails to "wet out" the surface, meaning it doesn't soak into the pores of the concrete or plaster. This results in poor adhesion. Furthermore, the rapid drying can lead to "alligatoring"—a pattern of cracks that resembles reptilian skin—caused by the surface of the paint shrinking faster than the layer beneath it.
For the best results, track the movement of the sun and paint shaded areas first, or work during the early morning hours once the morning dew has completely evaporated.
Professional Application Techniques: A Step-by-Step Protocol
Once the surface has been cleaned and prepared—a process involving degreasing and often acid washing—the application must follow a systematic path. Consistency in thickness is the primary goal. Paint applied too thin will wear out prematurely; paint applied too thick will trap air and blister.
1. The Final Clearing
Immediately before you open the paint cans, use a leaf blower or a fine-bristle sweep to remove every trace of dust, stray leaves, or dried paint chips. Even a small amount of debris can create a "void" in the coating where water can eventually seep in and begin the peeling process.
2. Masking and Protection
Use professional-grade masking tape to protect the waterline tile, returns, and light niches. For larger areas like diving board stands or stainless steel railings, use plastic sheeting.
3. Cutting In
Use a high-quality brush to "cut in" around the hard-to-reach areas. This includes drain openings, corners, ladder sockets, and around the light niches. Doing this first ensures that the roller can then blend these edges into the larger surfaces for a seamless look.
4. The Wall-First Strategy
Always begin with the walls. Use a roller with the nap thickness recommended by the paint manufacturer (typically a shorter nap for smooth epoxy and a thicker nap for rougher plaster). Work in manageable sections, maintaining a "wet edge" to prevent visible lap marks.
5. The Floor and the Exit Strategy
Once the walls are complete, move to the floor. Start at the deepest point of the pool. As you apply the paint, move toward the shallow end. It is critical to plan your path so that your final strokes are at the stairs or the ladder. This allows you to exit the pool without damaging the wet surface.
During this process, ensure you are following the infrastructure guidelines found in The Pool Logic Master Buying Guide: Infrastructure, Filtration, and Maintenance to ensure all components are ready for the eventual refill.
Managing the Second Coat and Rain Delays
Most high-durability pool paints require two coats. However, the timing of that second coat is the most common point of failure in pool renovation projects.
The 8-to-48 Hour Window
The second coat is designed to chemically bond to the first. This typically happens best between 8 and 48 hours after the initial application. If you wait longer than 48 hours, the first coat becomes too hard and "slick" for the second coat to grip.
If you miss this window due to weather or scheduling, you cannot simply paint over the old layer. You must "roughen" the surface of the first coat using light sandpaper or a floor buffer to create a mechanical bond site for the new paint.
The Rain Protocol
Rain is the enemy of a fresh coat of paint. If it rains during your project, the moisture can get trapped under the paint or cause the finish to become cloudy. The professional rule of thumb is to add one full day of drying time for every day of rain. Do not rush to apply the second coat if the first coat feels "tacky" or damp after a storm.
While waiting for the paint to cure, it is an excellent time to inspect other pool systems. For instance, you should review Pool Electrical Safety: A Comprehensive Guide to Bonding, Grounding, and Inspections to ensure that your lights and grounding systems are up to code before the water returns.
Curing and the Refill Process
The pool may look finished once the second coat is dry to the touch, but the chemical curing process is still ongoing. Refilling the pool too early is a recipe for disaster; the water pressure can actually "push" the paint off the walls if it hasn't fully hardened.
The Dryness Test
Refer to the manufacturer’s label for the specific curing time, which usually ranges from 3 to 7 days depending on the paint type (epoxy vs. acrylic) and humidity levels. To be certain the surface is ready, you can perform a simple dryness test: tape a small square of clear plastic to the floor of the pool. Wait several hours; if condensation appears under the plastic, the surface is still outgassing moisture and is not ready for water.
Optimizing Post-Refill Performance
Once the paint is fully cured and the pool is refilled, your focus shifts to water chemistry. Freshly painted surfaces can slightly affect pH levels initially. Furthermore, ensuring your filtration system is running at peak efficiency will help keep the new finish pristine. Learn more about balancing flow and clarity in The Science of Pool Filtration: Optimizing Pump Flow for Crystal Clear Water.
Conclusion
Painting a swimming pool is a high-reward project that requires disciplined adherence to environmental conditions and application techniques. By respecting the temperature limits, avoiding direct sunlight, and following the proper deep-to-shallow application path, you ensure a finish that is as durable as it is beautiful. Patience during the curing phase is the final hurdle—allow the paint the time it needs to bond, and you will enjoy a vibrant, protected pool for seasons to come.